
Arch Power with Material Elegance
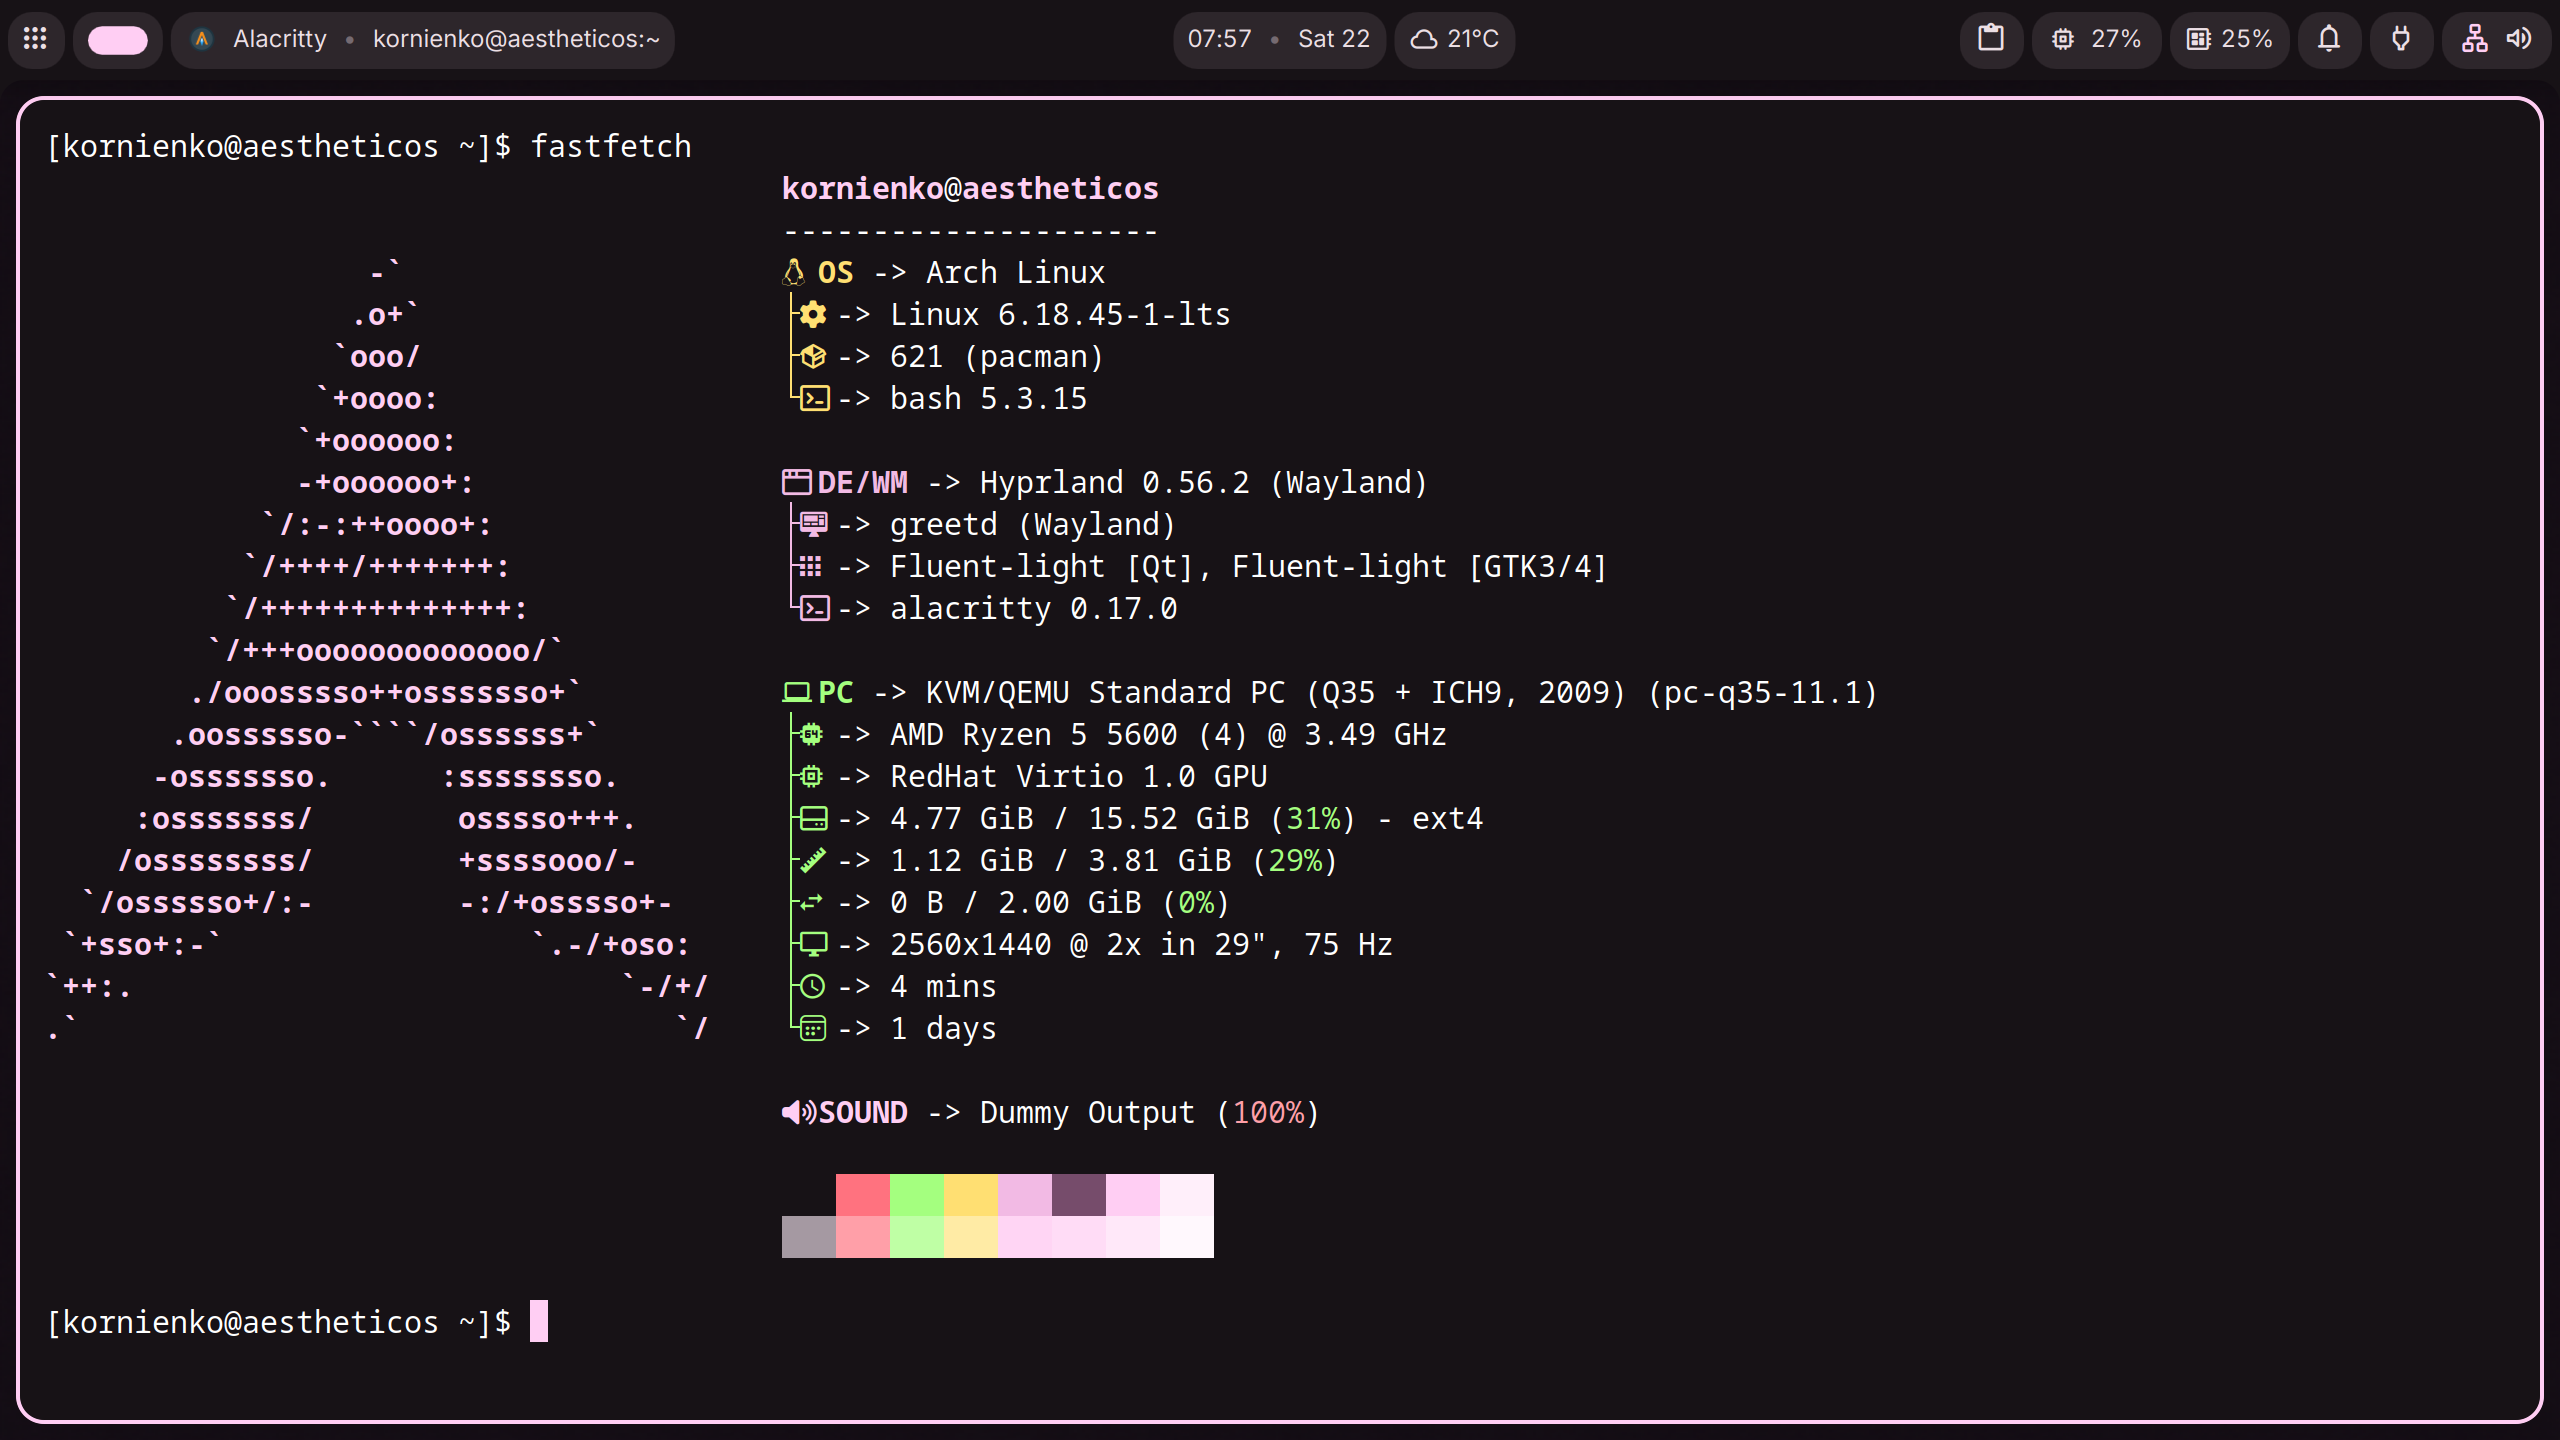
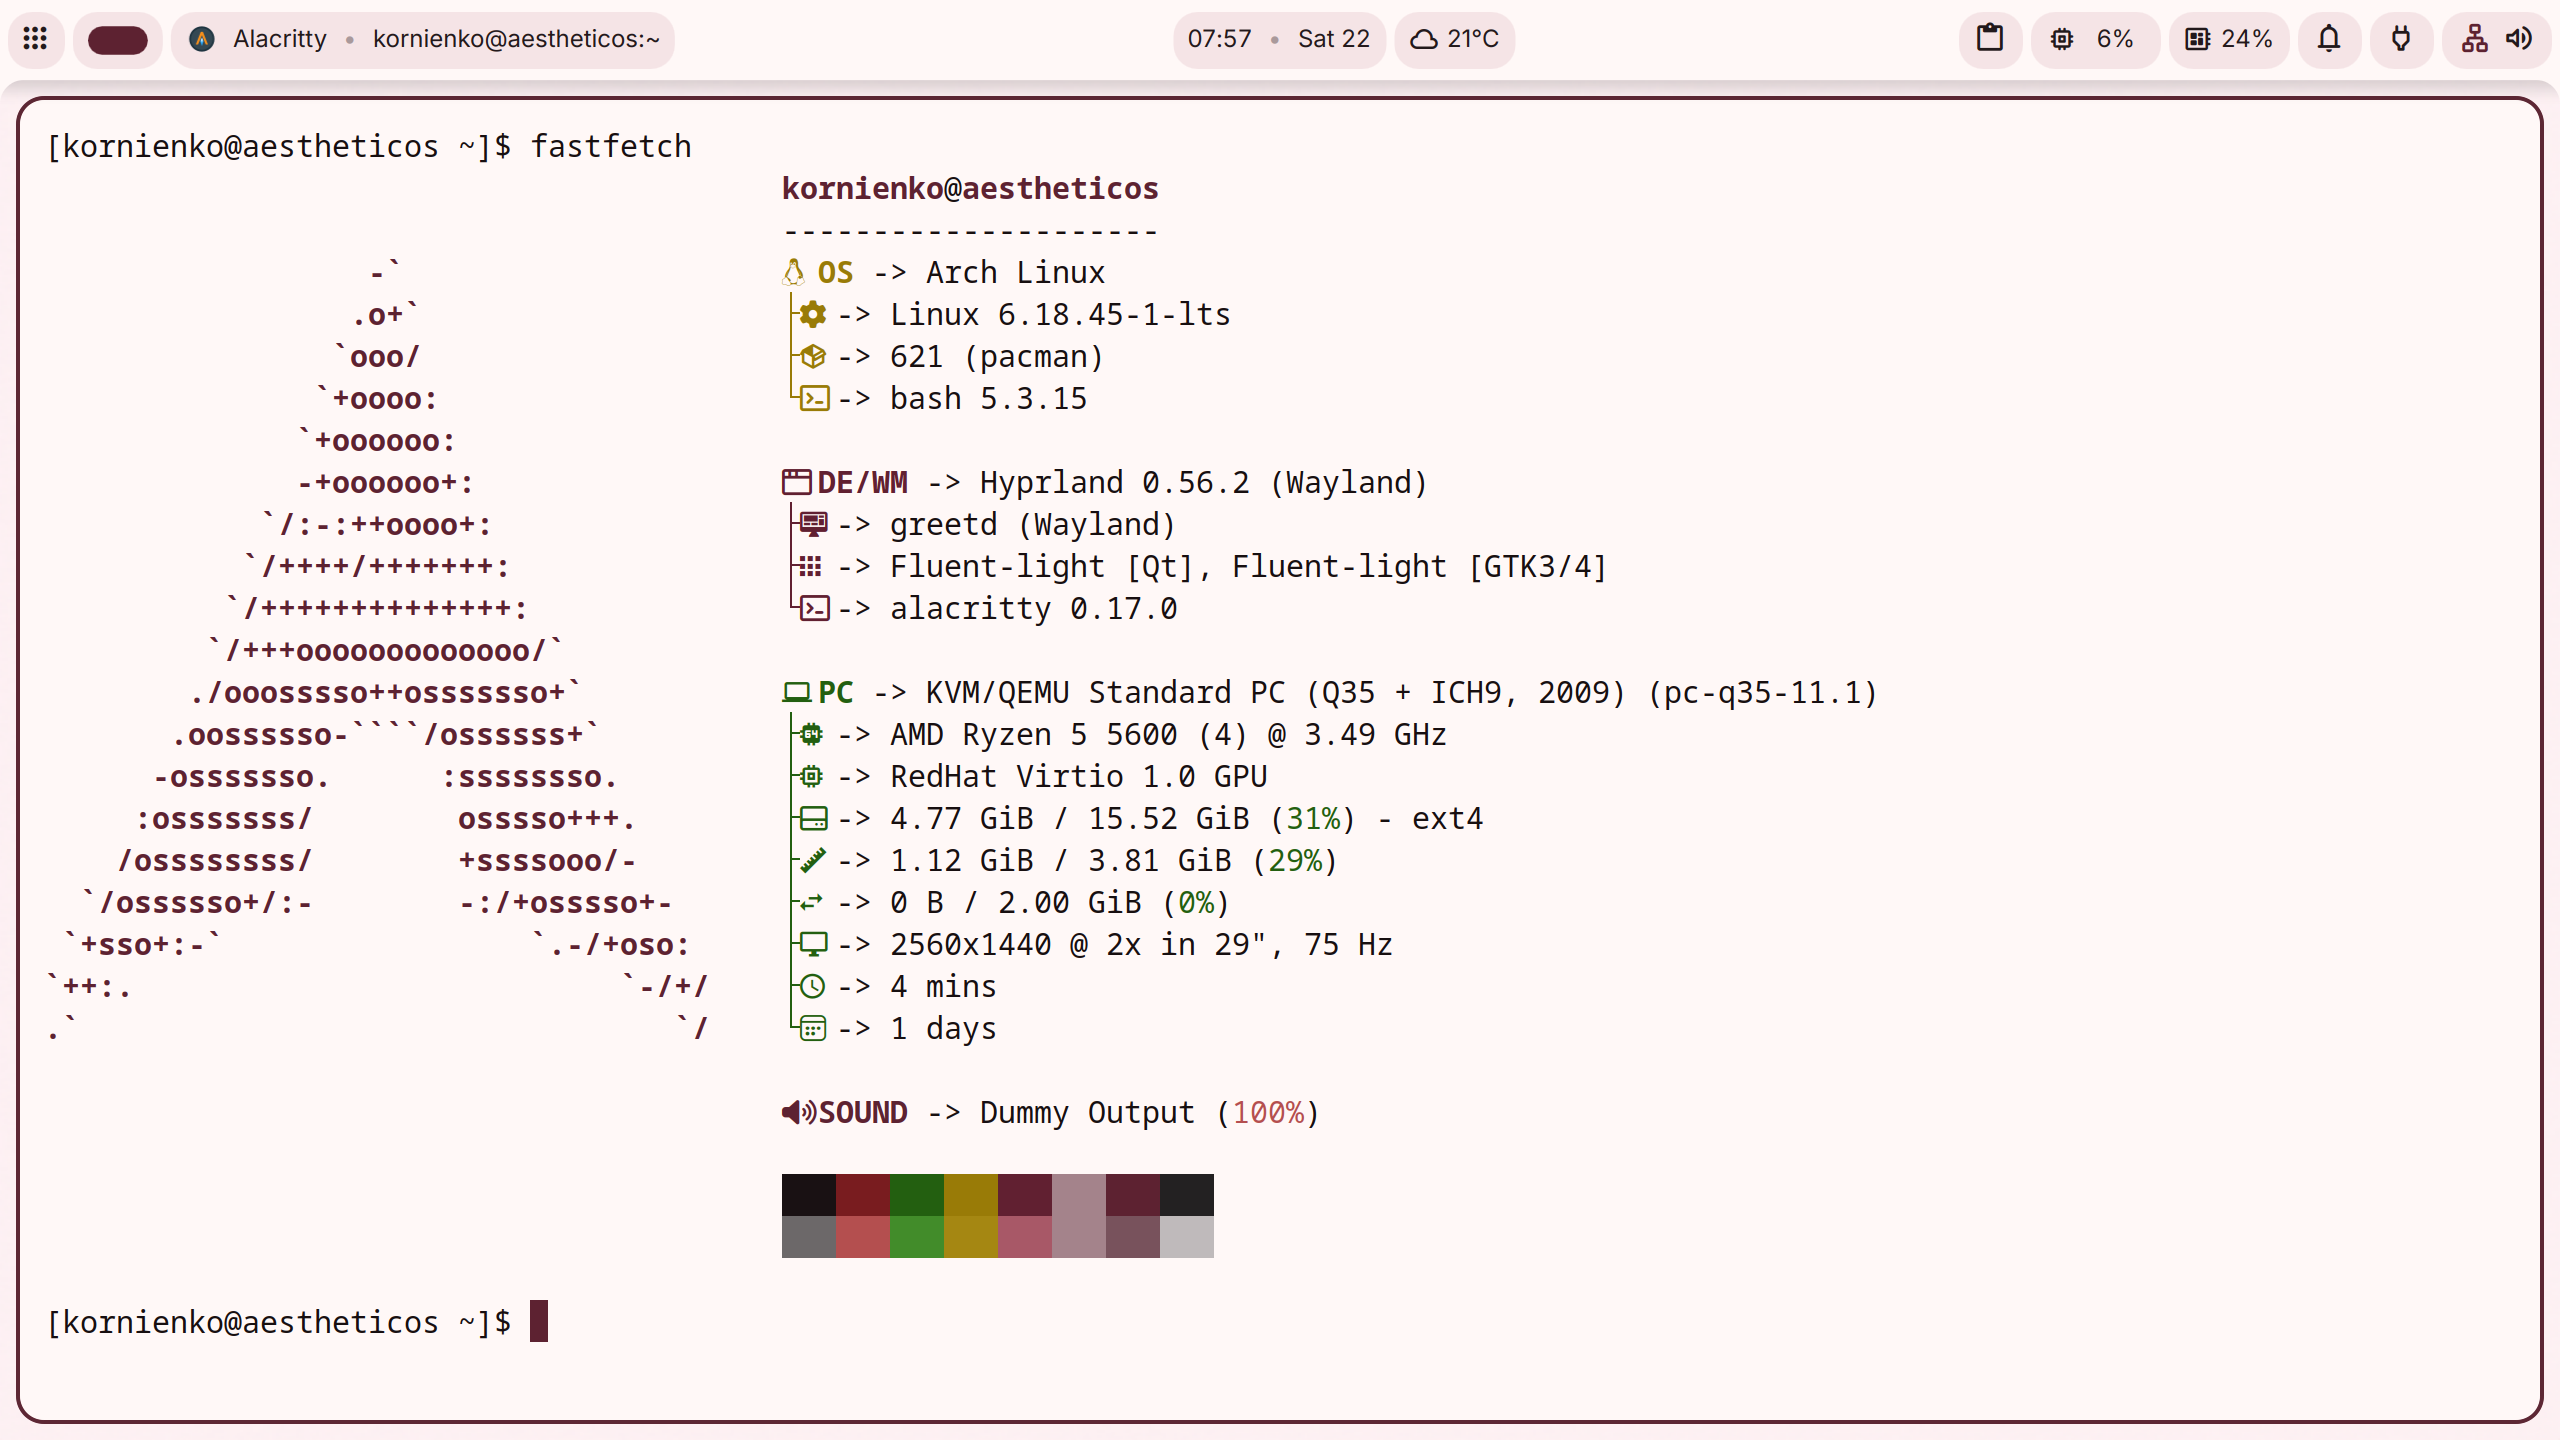
A Hyprland desktop with DankMaterialShell, plus Qt/GTK theming set up for you.
- Install time
- ~1min
- Installed size
- 4.7GB
Build the ISO. Install in a minute.
Run one command — make build — and you've got a bootable ISO. Flash it, boot it, and let the installer do the rest.
Download Aelum.
Grab the ISO plus its checksum and signature. Verifying takes two minutes and makes sure the file you booted is exactly what Aelum shipped — not a tampered or corrupted copy.
Live ISO
The bootable live ISO. Flash it to a USB drive, boot from it on any computer, and run the installer — it sets up Aelum fully offline, no internet needed.
DownloadFlash it to a USB drive.
Any of these writes the ISO to a USB stick in a minute. Ventoy keeps the stick usable for other files; BalenaEtcher does a clean, single-image flash; dd is a built-in command line tool.
Ventoy
- Download and open Ventoy on your computer.
- Select your USB drive, then click
Install. - Copy
aelum-2026.10.04-x86_64.isoonto the USB drive. - Boot your computer from that USB drive.
BalenaEtcher
- Download and open BalenaEtcher on your computer.
- Choose
aelum-2026.10.04-x86_64.isoas the image to flash. - Select your USB drive, then click
Flash!. - Boot your computer from that USB drive.
dd (Linux / macOS)
- Plug in your USB drive and find its device name with
lsblk. - Run
dd if=aelum-2026.10.04-x86_64.iso of=DEVICE bs=4M status=progress, replacingDEVICEwith your drive (for example/dev/sdb). - Boot your computer from that USB drive.
How to check the download.
Three things to confirm: the checksum matches, the signature is present, and it was made by the real Aelum key.
SHA-256 checksum
Confirm the file wasn't corrupted in transit.
DownloadSHA-512 checksum
Stronger integrity check, if you prefer it.
DownloadGPG signature
Proves the ISO was made by Aelum and nothing was altered.
DownloadSigning key
The public key that signed the ISO. Import it before you verify.
DownloadThe live ISO installs fully offline — once you've verified it, no internet connection is needed to install Aelum.
- Download all four files
Get the ISO, its checksum file, the GPG signature, and the signing key into the same folder. You need the key to verify the signature.
- Check the checksum
Verify the ISO against the checksum file we provided. This catches corruption or a tampered download — any mismatch means re-download it. SHA-256 is enough; SHA-512 is stronger if you prefer it.
# Linux — check against the .sha256 file: sha256sum -c aelum-2026.10.04-x86_64.iso.sha256 # prints: aelum-2026.10.04-x86_64.iso: OK # macOS (shasum is built in): shasum -a 256 -c aelum-2026.10.04-x86_64.iso.sha256 # Windows PowerShell — then compare to the hash below: Get-FileHash -Algorithm SHA256 aelum-2026.10.04-x86_64.iso # Prefer SHA-512 instead: sha512sum -c aelum-2026.10.04-x86_64.iso.sha512On Linux and macOS the command must report
OK. On Windows, the printedHashmust equalfc6e0a5759650e3d68d9c9d7bde557839b7cf78e64cc73334c67ba7a00ff803bexactly. - Import the signing key
Load Aelum's public key into your keyring. After importing, compare the fingerprint shown by GnuPG against the one below — only trust the signature if the fingerprints match.
On Windows, install GPG4win first — it ships a command-line
gpg.gpg --import aelum-release-key.asc # Confirm the fingerprint you just imported: gpg --fingerprint - Verify the signature
GnuPG checks the signature against the key you imported. A genuine result names the Aelum key and says the signature is good.
gpg --verify aelum-2026.10.04-x86_64.iso.asc aelum-2026.10.04-x86_64.isoLook for
Good signature. The output names the key by fingerprint (using EDDSA key A675F61C22C26FCE187262E448CC48FDFD881E0D) and by owner (Ivan Kornienko <[email protected]>). ABAD signature, or aNo public keyerror, means do notboot the ISO — re-download or report it.A warning that the key is not certified with a trusted signature is normal for a freshly imported key and does not by itself mean the signature is bad. As long as the fingerprint above matches,
Good signatureis what you want. - Know the real key
The signature is only meaningful if the key is really Aelum's. Check the fingerprint against a second, independent source — the GitLab releases page, a maintainer, or a key server — before you trust it.
- Signing key fingerprint
- A675 F61C 22C2 6FCE 187262E4 48CC 48FD FD88 1E0D
- Key owner
- Ivan Kornienko <[email protected]>
- Key expiry
- Expires 2029-08-27
A few questions. That's it.
Just boot the ISO and answer a few questions in a clean wizard. No terminal to touch, no network needed to install.
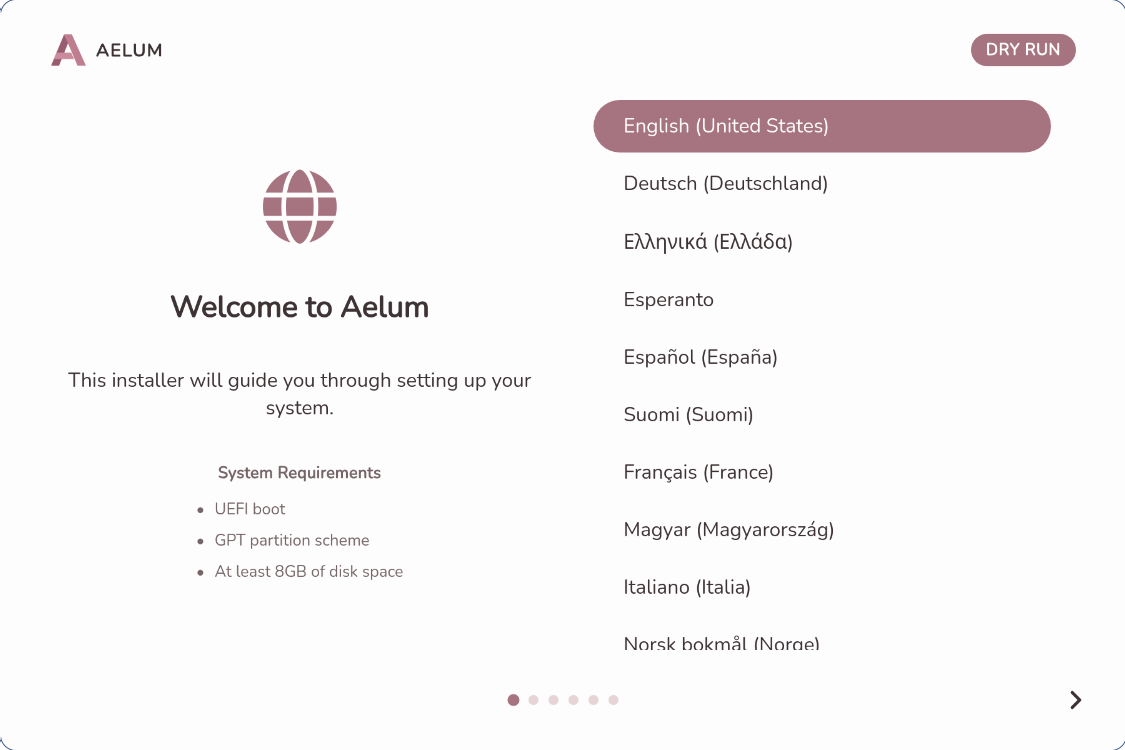
Pick a language
Choose from 28 languages. This sets the installer UI, your system locale, and the mirror country.
Create your user
Set up your username and password in a couple of fields.
Choose a disk
Select the target drive and pick between ext4 or btrfs.
Confirm
Review the summary, then hit install. That's it.
Watch it go
The installer runs entirely from the live ISO — no internet needed.
Boot into it
Reboot into a finished Hyprland + DankMaterialShell desktop.
ext4 or btrfs?
Btrfs ships with a sensible automatic subvolume layout — root, home, and snapshots are laid out for you. That means automatic CoW compression, transparent snapshots, and easy rollbacks, so your system stays clean and recoverable out of the box. Pick ext4 only if you don't need snapshots or have workloads that btrfs doesn't handle well, such as some database setups.
btrfsrecommendedext4A painless install
No mirror fetches or missing packages during install — everything is baked into the ISO. It's a curated desktop, not a bare Arch you have to theme yourself.
Fully offline installer
Every package is embedded in the ISO and served from an embedded local mirror. Zero network dependency during install.
Zero-touch boot
Greetd launches a barebones Hyprland that starts the installer automatically on first boot. No manual commands, no thinking about it.
Silent boot
A clean UEFI splash with the Plymouth BGRT theme shows your OEM logo — no console spam, no boot-time noise.
Auto monitor scaling
Live ISO detects the connected monitor and applies the right Hyprland scale automatically, so the installer is crisp on 1080p, 1440p, or 4K.
~1 minute install
Because every package is already included, install takes about a minute and the complete OS uses roughly 4.7 GB after install.
Minimal live ISO
The live ISO is intentionally barebones — its only job is to boot and launch the installer.
A finished desktop
The installer hands you a complete, pre-configured system — ready to use the moment install finishes. GTK and Qt apps get matugen-themed automatically, so there's no manual theming to do.
Hyprland
Dynamic tiling window manager.
DankMaterialShell
A complete desktop shell for Wayland compositors.
DMS Greeter
A fast login screen that matches the desktop theme.
GTK + Qt theming
Matugen-themed automatically — no manual theming.
Matugen
Generates matching color schemes from your wallpaper.
Firefox
The browser, pre-configured and themed to match.
Plymouth BGRT
Silent boot splash reading your OEM logo from UEFI.
ZRAM swap
Compressed RAM swap instead of a swap file.
The installer speaks 28 languages
# GUI
sudo /usr/local/bin/aelum-installer-cli

# CLI — full install
sudo /usr/local/bin/aelum-installer-cli --install /dev/vda

# CLI — btrfs root instead of ext4
sudo /usr/local/bin/aelum-installer-cli --install /dev/vda --filesystem btrfs
Prefer headless or scripted installs? The live ISO also ships a CLI.